Display Table of Contents
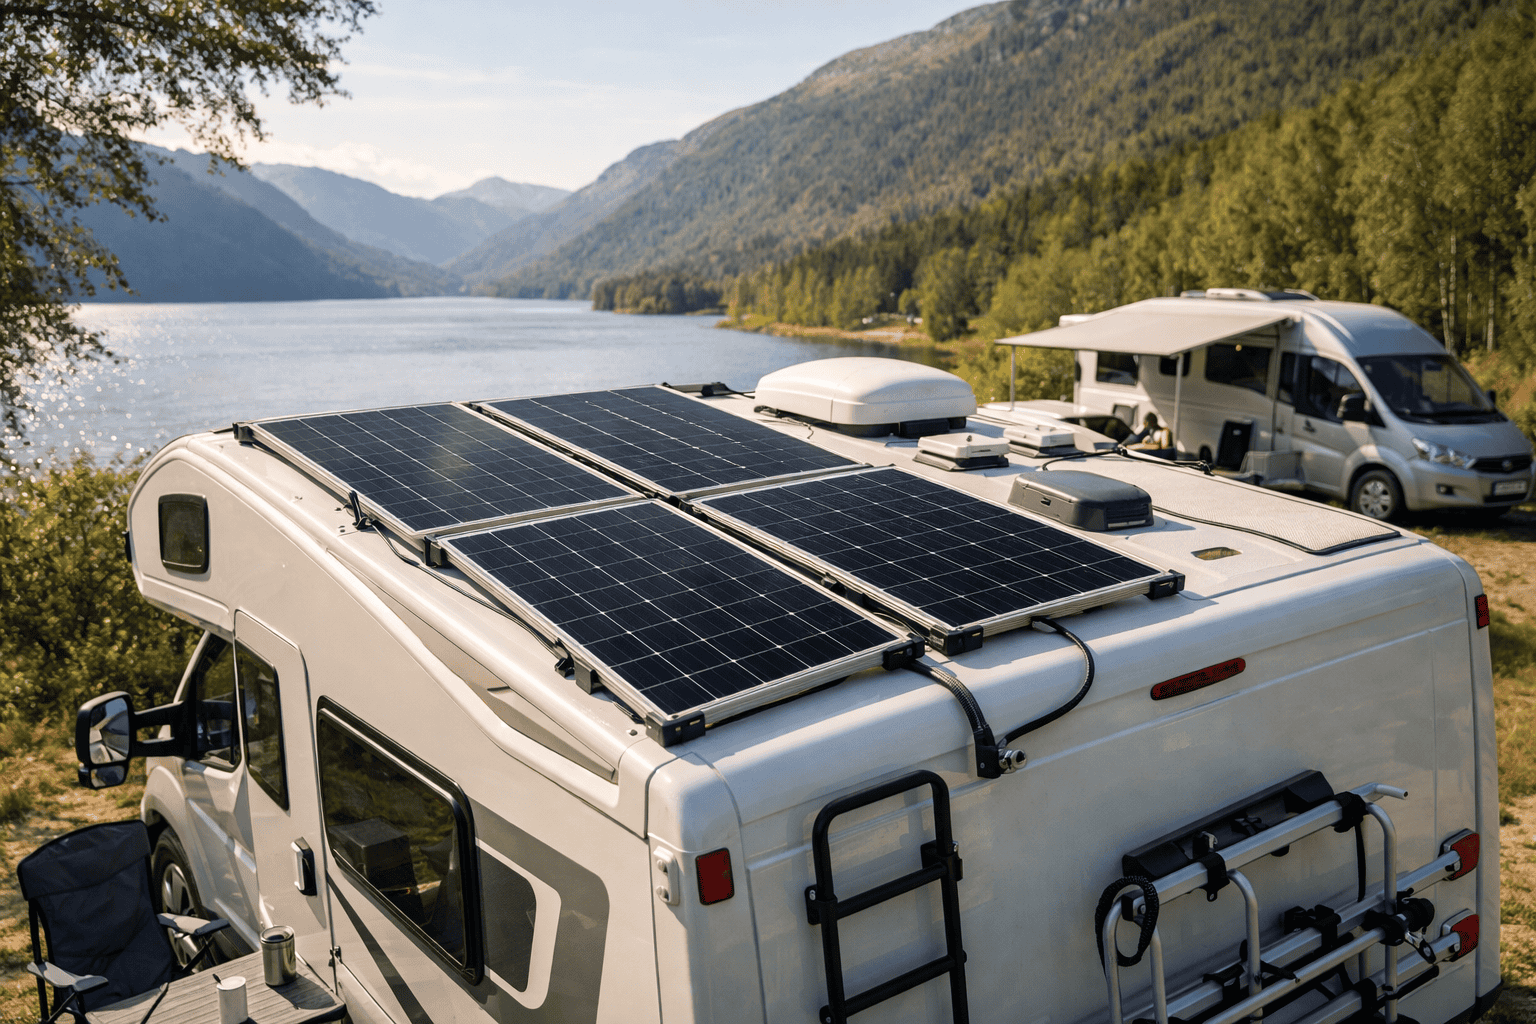
Solar panels for motorhomes and campervans turn sunlight into 12V DC electricity. They charge a leisure battery, which then powers lights, fridges, USB devices, and water pumps without a mains hookup. Systems range from compact 100W single-panel setups to multi-panel arrays exceeding 400W for extended off-grid travel.
This guide explains panel types, sizing calculations, charge controllers, wiring layouts, and mounting options. It is designed to help you build a reliable solar system that matches your energy needs.
Key takeaways
- Partial shading on even a single cell can cut total panel output by half.
- A 100W panel paired with a 100Ah lithium battery can cover roughly 40–50Ah of daily draw.
- MPPT charge controllers can extract up to 30% more energy than PWM models.
- Bracket-mounted panels with a 10 mm air gap can outperform adhesive-bonded panels by 5–10%.
- PWM controllers suit systems under 200W. Above that threshold, upgrade to MPPT.
- Saving £3–£8 per night on hook-up fees can repay a mid-range setup within two years.
- Lithium batteries last 2,000 to 5,000 charge cycles with minimal capacity loss.
How Solar Power Works in Motorhomes and Campervans
Mount panels where your roof gets direct sunlight for the longest part of the day. Set the angle to avoid shadows from roof vents, aerials, or air conditioning units. Even partial shading on a single cell can reduce output by half across the entire panel.
Photovoltaic cells convert sunlight into direct current (DC) electricity. A charge controller sits between the panels and your leisure battery and regulates voltage to prevent overcharging. MPPT controllers extract roughly 20 to 30% more energy than older PWM types, which makes them the stronger choice for limited roof space.
The leisure battery stores that energy for use after dark or on overcast days. An inverter then converts 12V DC to 230V AC when you need to run mains appliances. Battery bank sizing matters as much as panel capacity. Undersized storage wastes any surplus generation.
Professional campervan solar panel installs help ensure that wiring, fusing, and controller selection match your specific roof layout and energy demand. This reduces the risk of voltage drops or component damage over time.
Choosing the Right Solar Panel Size and Battery Capacity
| Option | Best fit from the article |
|---|---|
| LiFePO4 battery | Accepts charge faster and can discharge to 80% depth of discharge, so a smaller bank can replace a larger AGM setup at the same usable capacity. |
| AGM battery | Should not drop below 50% depth of discharge, which means more total capacity is needed for the same usable energy. |
| PWM controller | Suited to systems under 200W. |
| MPPT controller | Extracts up to 30% more energy and is the stronger choice where roof space is limited. |
A 100W panel paired with a 100Ah lithium battery covers roughly 40 to 50Ah of daily draw. That is enough for LED lighting, phone charging, and a 12V fridge running overnight. If daily consumption doubles, double panel wattage, battery capacity, or both.
Start by listing every device you plan to run. Then calculate its amp-hour draw over 24 hours. A compressor fridge typically pulls 2 to 4A, while a diesel heater fan draws around 0.8A. Add a 20% buffer for cloudy days.
Lithium (LiFePO4) batteries accept charge faster and discharge to 80% depth of discharge. AGM batteries should not drop below 50%. As a result, a smaller lithium bank can replace a larger AGM setup at the same usable capacity. Our guide to solar panels for motorhome builds covers sizing calculations in more detail.
For extended off-grid stays, use a 200W to 300W array with a 200Ah lithium bank. This setup handles laptops, water pumps, and inverter loads across three-season UK touring. Size the charge controller to handle at least 25% more wattage than your current array. That leaves room to add a panel later.
Key Components in a Campervan Solar Setup
Each part of the system must match in voltage and current rating: panel, charge controller, battery, and wiring. One incompatible component can stall the whole system.
Solar panels generate DC power, but their voltage shifts with sunlight intensity. The charge controller stabilises those changes and prevents overcharging. PWM controllers suit systems under 200W, while MPPT controllers extract up to 30% more energy by adjusting input voltage to the battery’s optimal charging point.
Cable gauge matters more than most installers expect. Undersized cables increase resistance, waste energy as heat, and raise fire risk. A 100W panel at 12V draws roughly 8A, and 6mm² cable handles that over runs up to 5 metres. For longer runs, use thicker cable or higher-voltage panels wired in series.
An inline fuse between the charge controller and battery protects the wiring from short circuits. Place a second fuse on the battery’s positive terminal for any load circuit. A Victron SmartShunt tracks state of charge in real time and helps prevent deep discharges that shorten battery life.
Use MC4-rated connectors for outdoor panel wiring. For internal distribution, use Anderson plugs or bus bars. Crimp terminals with adhesive-lined heat shrink help keep joints corrosion-free in damp van cavities.
Installation Factors That Affect Performance and Safety
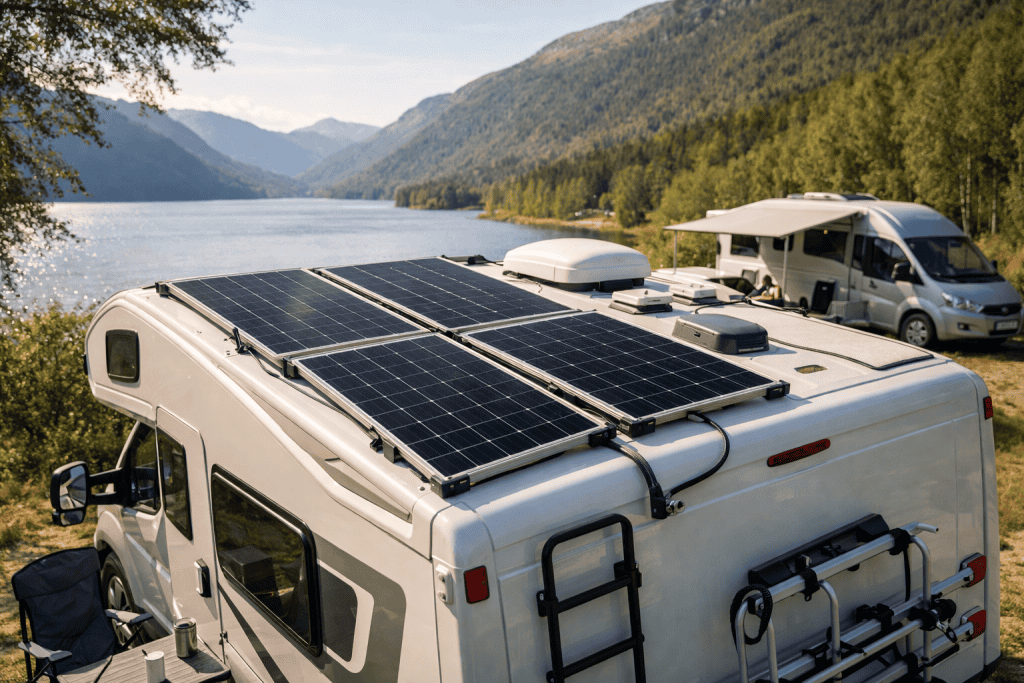
- Keep panels at least 10 mm above the roof surface.
- The air gap reduces heat build-up.
- Helps maintain cell efficiency.
- Sit flush to the roof.
- Run hotter than bracket-mounted alternatives.
- Typically produce 5 to 10% less power on warm days.
Keep roof-mounted panels at least 10 mm above the roof surface. The air gap reduces heat build-up and helps maintain cell efficiency. Adhesive-bonded panels sit flush and run hotter, typically producing 5–10% less power than bracket-mounted alternatives on warm days.
Run all cabling through a weatherproof roof gland instead of drilling an unsealed hole. Use tinned copper cable rated for automotive or marine environments, and size it to keep voltage drop below 3%. A 4 mm² cable handles most runs under 5 metres for a 200 W system. Longer distances or higher wattages need 6 mm² or thicker.
Place an inline fuse within 300 mm of the positive battery terminal. Use crimped ring terminals or MC4 connectors for every connection between panel and battery. Loose or corroded joints raise resistance, waste energy as heat, and pose a fire risk inside a confined vehicle.
Seal all external fixings with Sikaflex or a comparable polyurethane sealant. Test the system under load before closing up interior trim panels. This lets you verify voltage readings and spot any drop across connections while they remain accessible.
Running Costs, Maintenance and Everyday Power Use
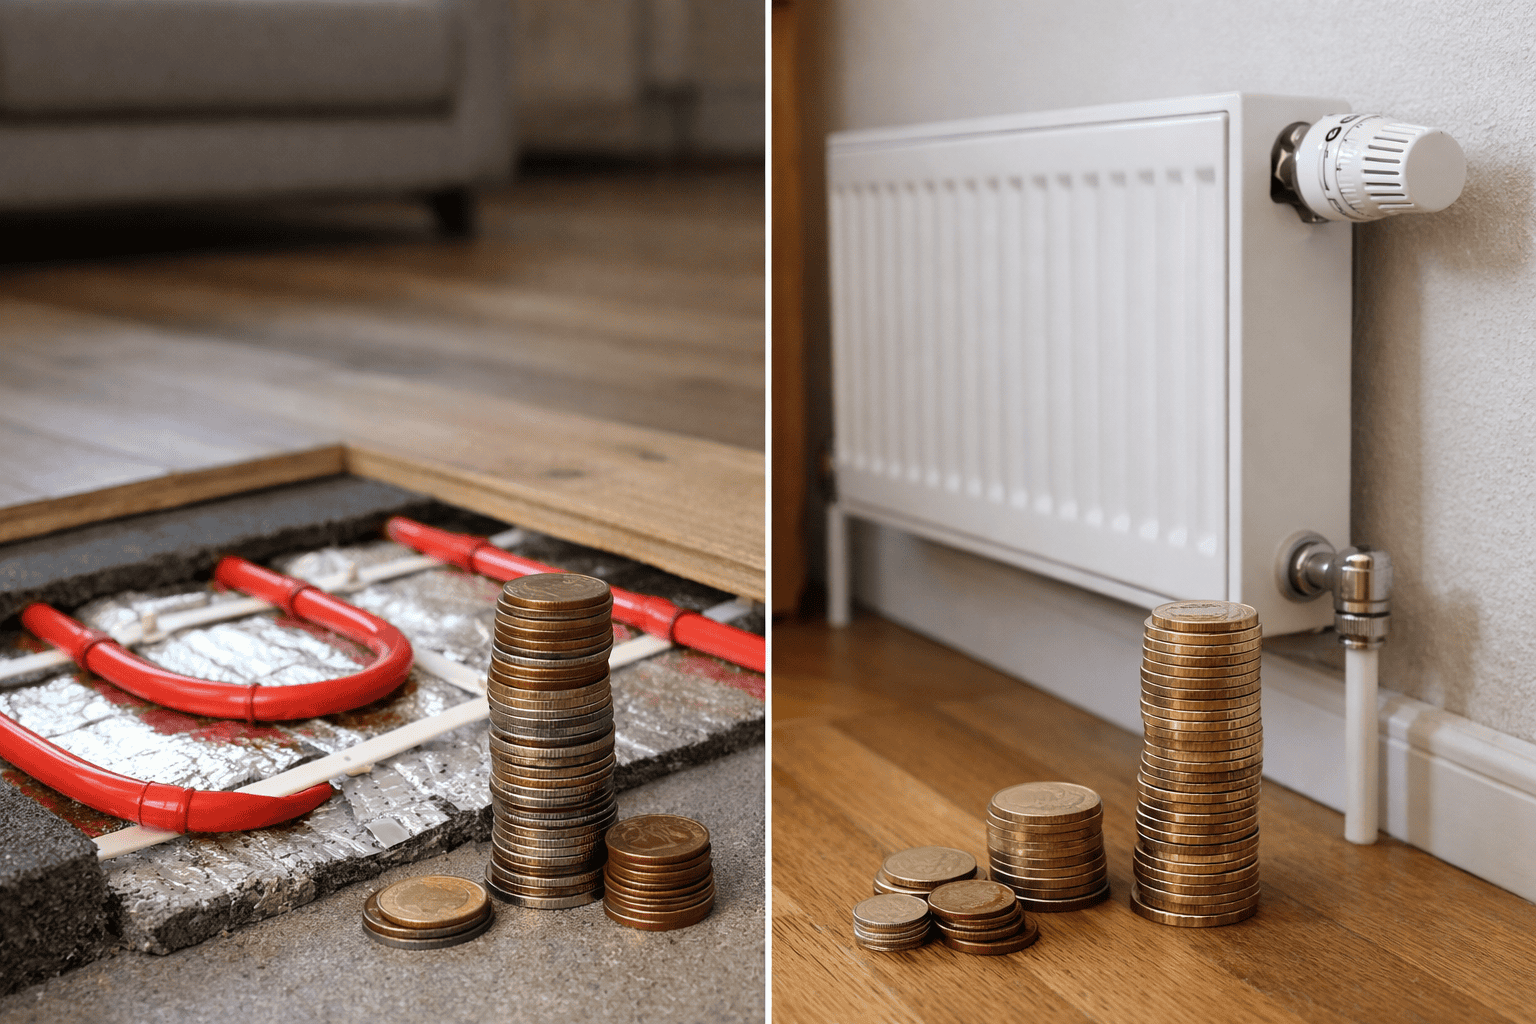
A well-sized solar system can remove campsite hook-up fees of £3 to £8 per night. Over a full touring season, those savings can cover the cost of a mid-range panel and battery setup within two years.
Solar panels need little upkeep. Wipe the surface with a damp cloth every few weeks. At the start of each season, check cable connections for corrosion.
Lithium batteries hold their capacity for 2,000 to 5,000 charge cycles before dropping below 80% rated output. Lead-acid alternatives manage 300 to 500 cycles. Avoid deep discharge below 20% state of charge, and let the charge controller manage this automatically.
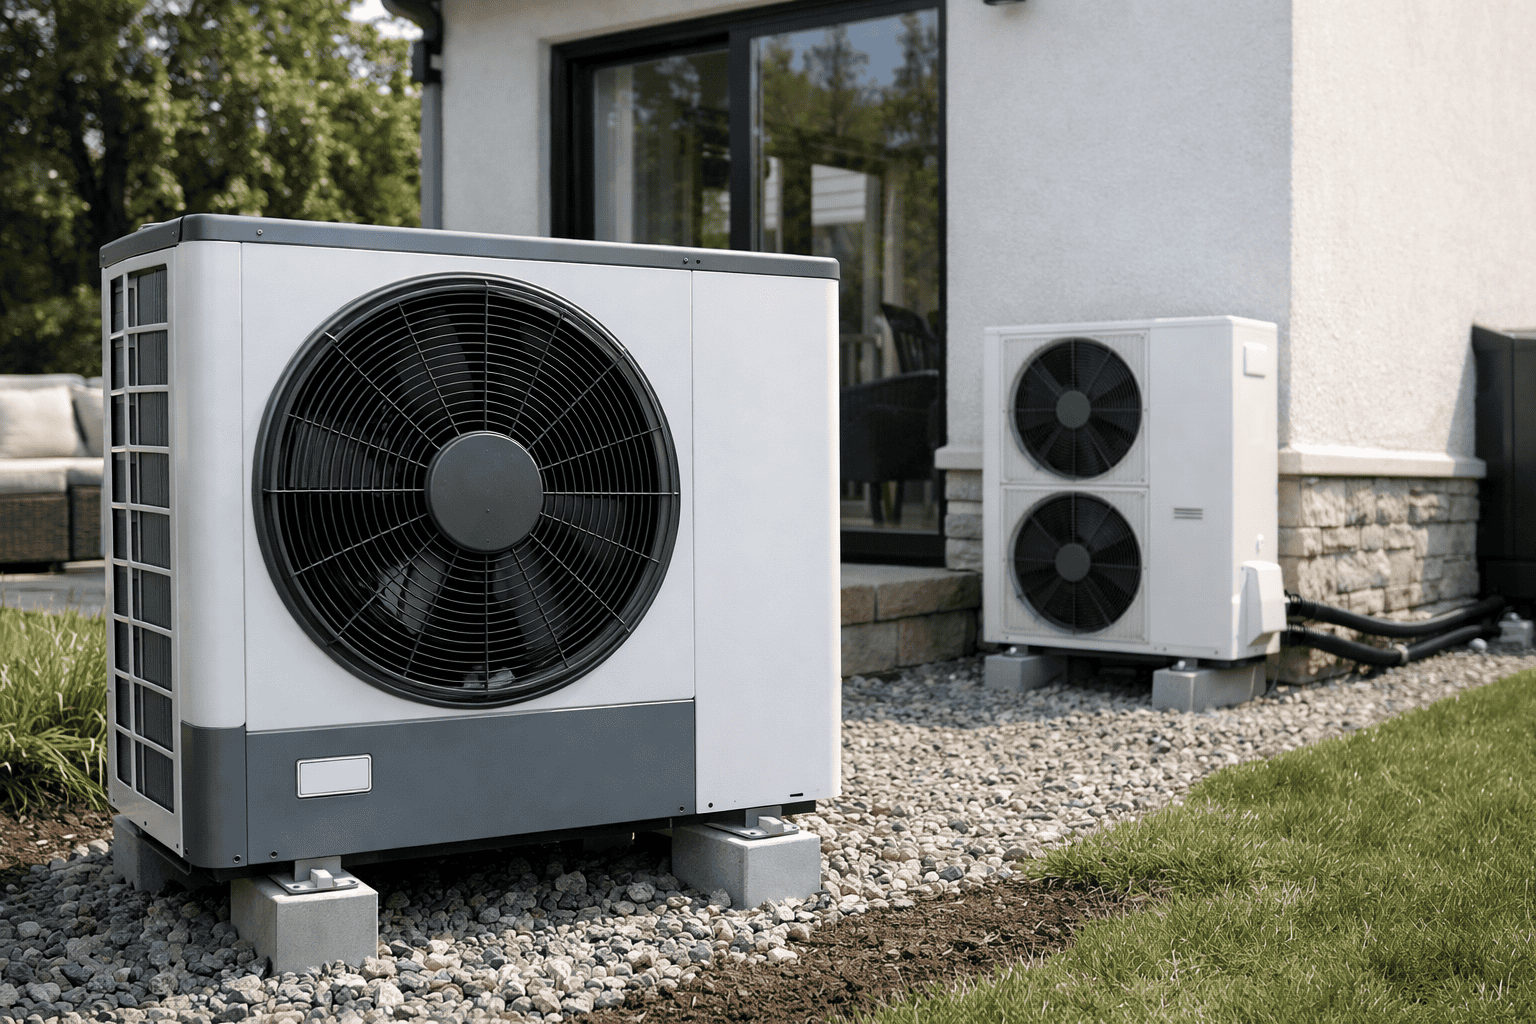
UK winter months cut solar harvest by roughly half, so a diesel heater or gas system usually handles heating instead of drawing from stored energy. In summer, surplus power often supports charging small devices or running a 12V cool box. Premium Campervan Conversion Company builds systems with seasonal variation factored into panel and battery sizing, which reduces the need for retrofitting.
Frequently Asked Questions
How does a solar panel system work in a motorhome or campervan?
Roof-mounted panels convert sunlight into DC electricity. A solar charge controller regulates that current and sends it safely to a leisure battery. The 12V system then powers lights, fridges, and USB sockets directly, while an inverter converts stored energy into 230V AC for mains appliances.
What size solar panel do I need for a motorhome or campervan?
Daily energy use determines the right panel size, not the vehicle itself. A campervan running lights and phone charging may need just 100W. A motorhome powering a fridge, TV, and laptop typically requires 200W–400W. Calculate your daily watt-hour usage first, then size your panel array to replace that amount within the available sunlight hours.
Can solar panels run all appliances in a motorhome or campervan?
Size your battery bank and panel array around your actual daily consumption. Low-draw devices like LED lights, phone chargers, and 12V fridges usually run comfortably on a typical setup. High-demand appliances such as air conditioning, kettles, or hairdryers often exceed what rooftop solar alone can sustain without significant battery and inverter upgrades.
How long does it take to charge a leisure battery with solar panels?
Panel wattage, battery capacity, and sunlight hours determine charge time. In good summer conditions, a 200W panel can fully charge a 100Ah lithium battery in roughly five to six hours. Lead-acid batteries take longer because they accept charge less efficiently. Overcast skies or partial shading can double these times.
Are flexible or rigid solar panels better for motorhomes and campervans?
Rigid panels convert 20–22% of sunlight into electricity, while flexible panels typically reach 15–18%. They also last longer, often exceeding 25 years. Flexible panels work well on curved roofs and reduce weight, which makes them practical for smaller campervans where roof space or payload limits are tight constraints.